You can get the instructions for the tote bag at the website below.
http://www.splitcoaststampers.com/forums/showthread.php?t=168866 Tote bag with matching cards (EASY pattern)
Here is my version of the instructions.....
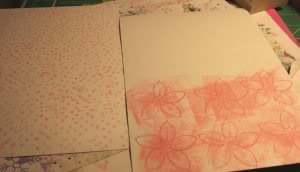
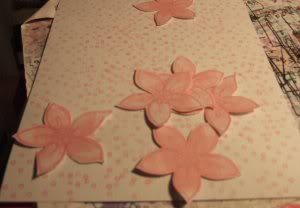
First I made my decorative panel bits. You could use decorative papers or stickers or other embellishments. Just have them ready for putting on your tote bag. Could be added at a later date too if you were going to make these up assembly line fashion. LOL
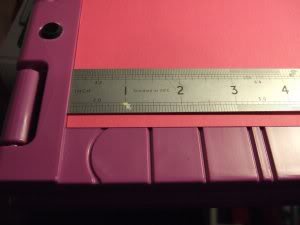
Next take a piece of A4 card and score 5 inches in from either side of you card towards the middle....Like so.....

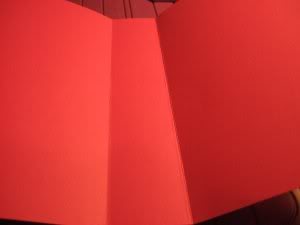
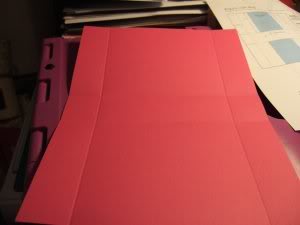
You should end up with something like this.....
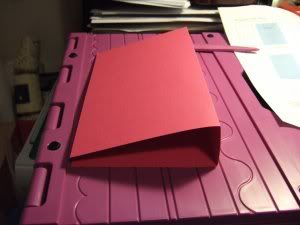
Next score about 1 1/2 inch all along both long sides like this......(the actual measurement you want is the measurement of the center after scoring the two 5 inch sides. This is the width of your bag.
You now need to cut on either side of the middle bit like so......
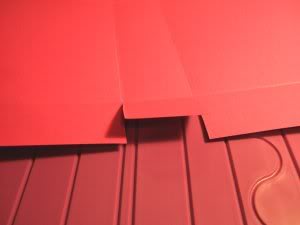
This is how it should look at this point.
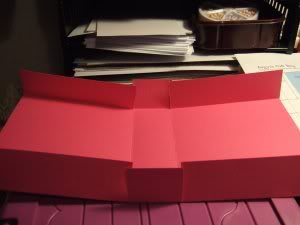
Now put double sided tape on the two middle flaps like this.....
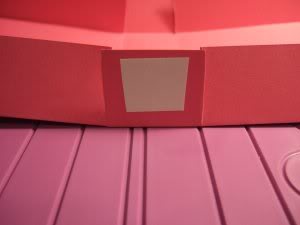
And on one set of the end flaps like this......

Making sure to do the same end on both sides.

(At this point you should put your holes in for your handles, but I keep forgetting to do this at this stage you need to measure about 1/2 inch down and in from each side of the middle panels. But if you forget like me I will show you how to fix this.... LOL)
Next step is to stand your bag up on its base after taking the paper off the tape..... The sticky side goes inside. Don't do the middle flaps yet. Now stick the outer side to the inner side. like so...... Don't press down until you have it in place.
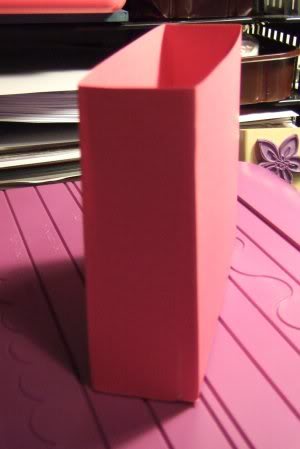
Now take the tape paper off the inside flaps and stick those to the sides. It helps to reinforce the bag.

Now if you are like me and you forgot to put your holes in for your handles...... Take a wooden block and stick into the bag, I used one of my wooden stamps on the side and I made myself two small cutting mats by cutting one down to size. Stick inside the bag and now you can punch your holes.
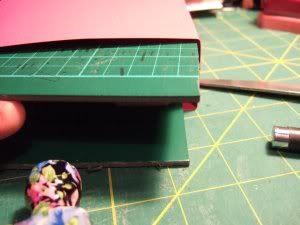

You will need to do two per side.
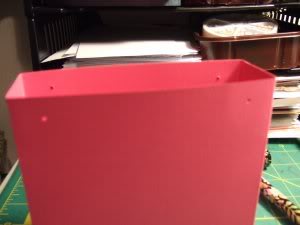
Next attach your decorative panel or decorator paper. Cut to size to fit between the holes and place your tape on the top of the bag and on the bottom and sides of the panel piece.

Stick to your bag. I made my panel a bit tall and then trimmed to size after sticking to the bag.
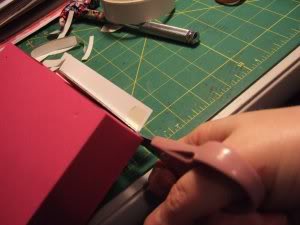
Add your embellishments....

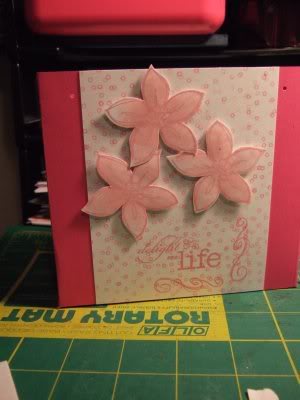
Now cut two handle strips. I used a piece of A4 card and cut two about 1/2 to 3/4 inch strips from the long edge of the card. Like so....
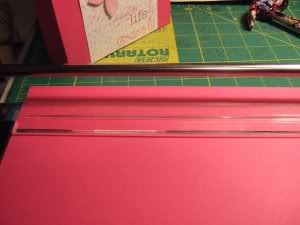
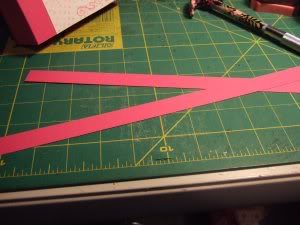
Punch holes in both ends of both strips....about 1/4 to 1/2 inch up.
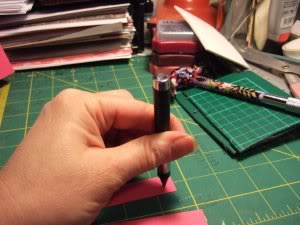
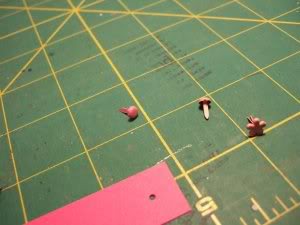
Put brad into the handle and then into the bag....
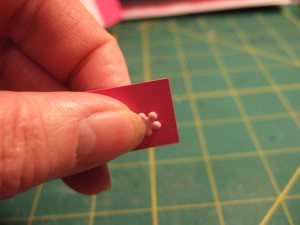
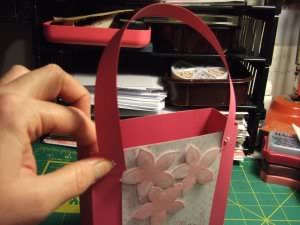

Do the other side....

And there you have your finished tote bag....

http://www.splitcoaststampers.com/forums/showthread.php?t=168866 Tote bag with matching cards (EASY pattern)
Here is my version of the instructions.....
First I made my decorative panel bits. You could use decorative papers or stickers or other embellishments. Just have them ready for putting on your tote bag. Could be added at a later date too if you were going to make these up assembly line fashion. LOL


Next take a piece of A4 card and score 5 inches in from either side of you card towards the middle....Like so.....


You should end up with something like this.....

Next score about 1 1/2 inch all along both long sides like this......(the actual measurement you want is the measurement of the center after scoring the two 5 inch sides. This is the width of your bag.


You now need to cut on either side of the middle bit like so......

This is how it should look at this point.

Now put double sided tape on the two middle flaps like this.....

And on one set of the end flaps like this......

Making sure to do the same end on both sides.

(At this point you should put your holes in for your handles, but I keep forgetting to do this at this stage you need to measure about 1/2 inch down and in from each side of the middle panels. But if you forget like me I will show you how to fix this.... LOL)
Next step is to stand your bag up on its base after taking the paper off the tape..... The sticky side goes inside. Don't do the middle flaps yet. Now stick the outer side to the inner side. like so...... Don't press down until you have it in place.

Now take the tape paper off the inside flaps and stick those to the sides. It helps to reinforce the bag.

Now if you are like me and you forgot to put your holes in for your handles...... Take a wooden block and stick into the bag, I used one of my wooden stamps on the side and I made myself two small cutting mats by cutting one down to size. Stick inside the bag and now you can punch your holes.


You will need to do two per side.

Next attach your decorative panel or decorator paper. Cut to size to fit between the holes and place your tape on the top of the bag and on the bottom and sides of the panel piece.

Stick to your bag. I made my panel a bit tall and then trimmed to size after sticking to the bag.

Add your embellishments....


Now cut two handle strips. I used a piece of A4 card and cut two about 1/2 to 3/4 inch strips from the long edge of the card. Like so....


Punch holes in both ends of both strips....about 1/4 to 1/2 inch up.


Put brad into the handle and then into the bag....


Do the other side....

And there you have your finished tote bag....


 Home
Home