
 Latest images

Okay have been promising a tutorial on using Patk's Sliders..... Here it is....
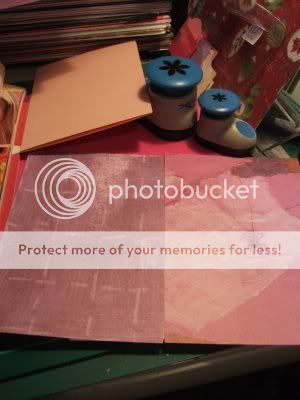
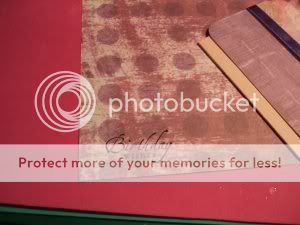
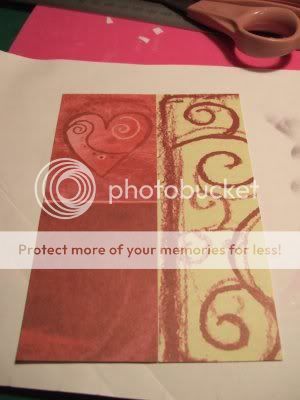
First cut a piece of card slightly smaller than your card top.

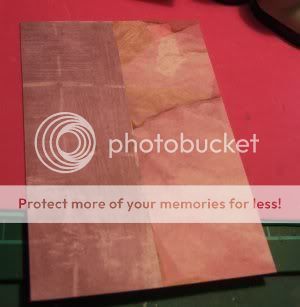
Put doublesided tape around the sides and down the middle. Then take two pieces of co-ordinating papers and attach to the card top like so....
Next trim it to size....
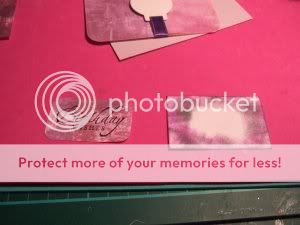
Next take the slider and co-ordinating ribbon. Cut the ribbon slightly longer than this piece of card about 1 inch. Thread your slider onto the ribbon.
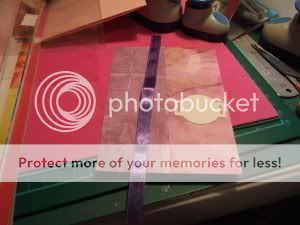

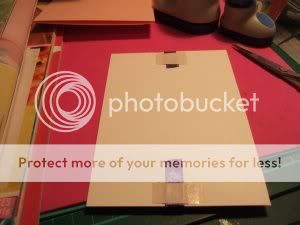
And on the reverse side of the prepared card put some double sided tape across the middle and attach the ribbon at each end. I put on another piece of tape to make sure it was secure.
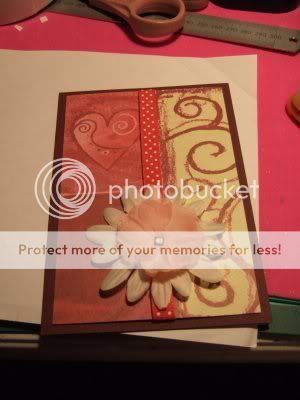
Then I stamped my greeting on another piece of paper and cut it out....
Cut a piece of white card slightly bigger than the greeting piece and used the inkpads to colour around the edges of the white card.
Tape the greeting to the middle of the white card piece. And put a piece of doublesided foam tape to your slider.
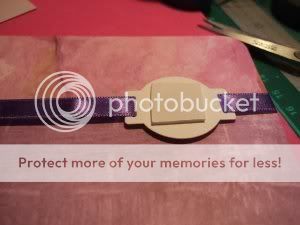
Now attach your greeting to the slider.

I then punched out some mini flowers.

glued them down to a co-ordinating piece of paper cut in little squares and edged with a glitter gel pen. Then glue some gems to the centre of the flowers. Start with your middle one first and doublesided tape it down to your card.

Followed by the other two.

I then took a lilac card and edged it like I did the white card for the greeting.

Next tape your finished topper to the prepared lilac card.
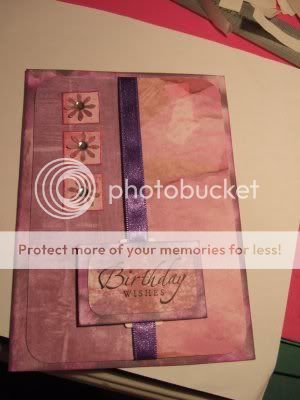
I then attached a punched out heart with some foam pads and stuck in the insert.

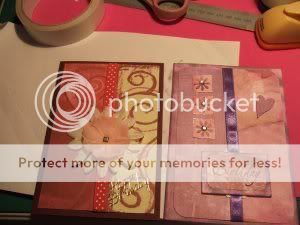
This is one way of using the sliders with the ribbons. Here is another.....
Again take a piece of card and cover again in papers of your choice.
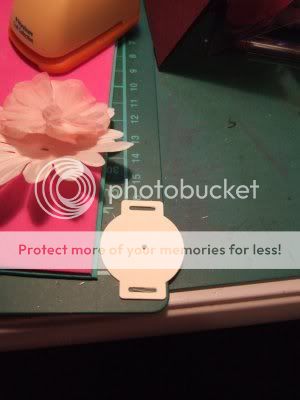
punch a small hole in the centre of your slider.
Next with a brad through the centre of some flower parts attach to the slider.


Attach slider to the ribbon

And attach to the card as before.

Tape down to your card....
And there you go another use for the sliders.
Have fun!!! And a big thanks Patk!!!!
First cut a piece of card slightly smaller than your card top.
Put doublesided tape around the sides and down the middle. Then take two pieces of co-ordinating papers and attach to the card top like so....
Next trim it to size....
Next take the slider and co-ordinating ribbon. Cut the ribbon slightly longer than this piece of card about 1 inch. Thread your slider onto the ribbon.
And on the reverse side of the prepared card put some double sided tape across the middle and attach the ribbon at each end. I put on another piece of tape to make sure it was secure.
Then I stamped my greeting on another piece of paper and cut it out....
Cut a piece of white card slightly bigger than the greeting piece and used the inkpads to colour around the edges of the white card.
Tape the greeting to the middle of the white card piece. And put a piece of doublesided foam tape to your slider.
Now attach your greeting to the slider.
I then punched out some mini flowers.
glued them down to a co-ordinating piece of paper cut in little squares and edged with a glitter gel pen. Then glue some gems to the centre of the flowers. Start with your middle one first and doublesided tape it down to your card.
Followed by the other two.
I then took a lilac card and edged it like I did the white card for the greeting.
Next tape your finished topper to the prepared lilac card.
I then attached a punched out heart with some foam pads and stuck in the insert.
This is one way of using the sliders with the ribbons. Here is another.....
Again take a piece of card and cover again in papers of your choice.
punch a small hole in the centre of your slider.
Next with a brad through the centre of some flower parts attach to the slider.
Attach slider to the ribbon
And attach to the card as before.
Tape down to your card....
And there you go another use for the sliders.
Have fun!!! And a big thanks Patk!!!!

